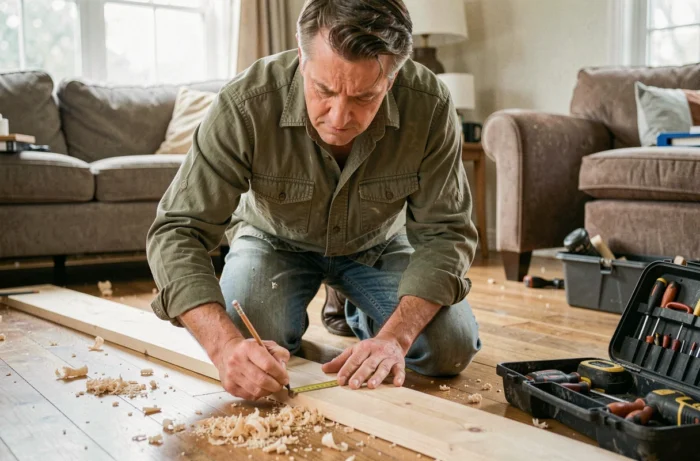
Before you start any drilling or sanding, a parameter often overlooked affects the safety of your small DIY projects: the age of your home. In a building with a construction permit dated before July 1, 1997, a simple intervention on a wall, floor, or duct can release asbestos fibers.
For constructions dating before 1949, old layers of paint may contain lead, making sanding or stripping risky without appropriate precautions.
Hidden risks in old homes: asbestos, lead, and DIY
Most DIY guides start with a list of tools or a painting tutorial. They overlook a technical prerequisite that concerns millions of French homes.
For asbestos, a survey before work may be necessary even for small interventions. Drilling a partition, removing a vinyl floor covering, sanding a false ceiling: these common actions in an old home can expose the occupant to dangerous fibers. The 1997 threshold corresponds to the ban on asbestos in France, but materials installed before this date remain in place in many homes.
Lead presents a distinct problem. Paints applied before 1949 frequently contain it. Mechanical sanding or thermal stripping on these layers generates toxic dust. Before tackling the renovation of a window frame or a painted wall in a home from this era, an assessment of the paint’s condition allows for method adaptation. Useful guidelines for identifying risky situations and choosing the right approach based on the type of support can be found on conseils-bricolage.fr.
Electrical safety: check for the absence of voltage before any intervention
Turning off the main circuit breaker does not always guarantee the safety of domestic electrical work. It’s a correct reflex, but incomplete.
All power sources must be identified before intervening. If your home has photovoltaic panels, an inverter, a storage battery, or a generator, these devices may continue to power certain circuits even when the main circuit breaker is open. The effective verification of the absence of voltage at the work point, using an appropriate voltage tester, remains the only reliable guarantee.
This point is documented in the Unique Electrical Document for Building (updated September 2026). It also concerns DIYers who change a switch, replace a socket, or install a light fixture. A simple socket replacement can cause an accident if a circuit remains live due to an auxiliary source that was not considered.
Concrete actions before touching a wire
- Identify the concerned circuit on the electrical panel and turn off the corresponding branch circuit breaker, not just the main one
- Check if the home has autonomous energy sources (solar panels, battery, inverter) and isolate them separately
- Test for the absence of voltage directly at the intervention point with a VAT (voltage absence tester), not a simple screwdriver tester
- Never work alone on a circuit you do not control: in case of doubt, an electrician can intervene for a few dozen euros
DIY waste: anticipate sorting from the preparation of the site
Small jobs produce waste that does not all go in the same bin, nor even to the municipal waste disposal site without precautions. This point is rarely addressed in practical guides, yet it conditions the end of the project as much as its beginning.
Hazardous waste follows specific channels and must never be mixed with ordinary rubble. This category includes non-empty paint cans, solvents, glues, wood treatment products, and, where applicable, materials containing asbestos. Municipal waste disposal sites generally have dedicated bins, but some refuse asbestos, which must then be directed to an approved center.
In practice, planning for sorting from the purchase of materials avoids unpleasant surprises. A bag for rubble, a waterproof container for chemicals, and a box for recyclable packaging are sufficient for most small domestic jobs.
Common small DIY jobs: choose the right order of intervention
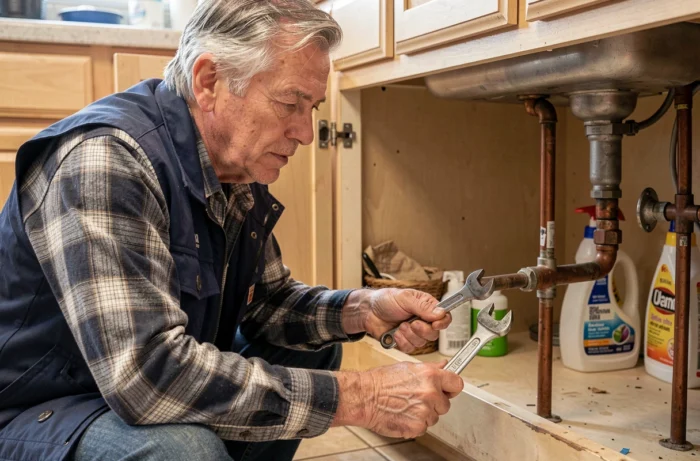
Once safety issues are addressed, the success of a DIY session at home largely depends on the order in which tasks are performed. Painting before filling holes requires repainting the wall. Installing shelves before repainting multiplies touch-ups.
The sequence that limits rework
Filling and preparing surfaces always come first. Holes in walls, slight cracks, dull bathroom joints: everything related to preparation is addressed before finishing. A properly applied filling compound, sanded once dry, then covered with paint, yields a clean result without visible touch-ups.
Painting comes next, before installing any wall-mounted elements (shelves, rods, frames). By proceeding this way, the fixings penetrate an already finished wall, and any potential paint marks around the screws disappear behind the installed object.
Floor interventions (installing baseboards, replacing a door threshold, applying varnish on wood) are done last. The risk of splashes or tool drops on a new floor justifies keeping this step for the end.
The tools that cover most needs
- A tape measure and a spirit level: measuring and aligning remain the basis of any clean work
- A drill-driver with a set of bits and drills suitable for the material (concrete, brick, drywall): a single versatile tool replaces several specialized tools
- A cutter, a putty knife, and medium-grit sandpaper: the trio for wall preparation
- A mid-range roller and a trim brush for painting: a low-end roller leaves marks, while a high-end one adds nothing on a small job
Waste management, electrical safety verification, and identifying hazardous materials in old homes are not spectacular steps. Yet they condition the success of your small jobs as much as choosing the right tool or paint. A well-prepared site in advance finishes faster, cleaner, and without unpleasant surprises.